General Articles
A Beginner’s Guide to Tuning Violins, Guitars, and Setars
Why Proper Tuning Matters for Every Musician
Learning to tune your instrument is one of the most essential skills for any musician. Whether you play violin, guitar or setar, correct tuning ensures that your instrument produces clear and accurate notes. When an instrument is out of tune, even the most skilled technique will sound unstable or unpleasant. Proper tuning also helps beginners develop a more accurate ear, improves overall musicality and creates confidence during practice and performance.
Although tuning may seem challenging at first, the process becomes easier with repetition and the right guidance. This beginner-friendly guide will walk you through the basics of tuning three popular instruments and help you understand the sounds and methods unique to each one.
Understanding the Basics of Tuning
Before diving into each instrument, it helps to understand a few foundational concepts.
Standard Pitch and A440
Most modern music uses A440 as the standard pitch, meaning that the note A above middle C vibrates at 440 hertz. Many digital tuners and tuning apps use this setting by default, making tuning more consistent across instruments and ensembles.
Using a Digital Tuner vs. Tuning by Ear
Digital tuners are the most beginner-friendly tool. They display whether your note is flat, sharp or perfectly in tune. Tuning by ear relies on matching pitches and requires more training, but it becomes easier with practice. Many players use a combination of both methods.
Understanding Flat and Sharp
A note is flat when it is slightly lower than the correct pitch. A note is sharp when it is slightly higher. Strings must be gently adjusted to raise or lower the pitch until it matches the target note.
Tuning a Violin
Standard Violin Tuning Notes
The standard tuning of a violin from lowest to highest pitch is:
• G
• D
• A
• E
These strings follow a perfect fifth interval pattern, which gives the violin its clear and resonant sound.
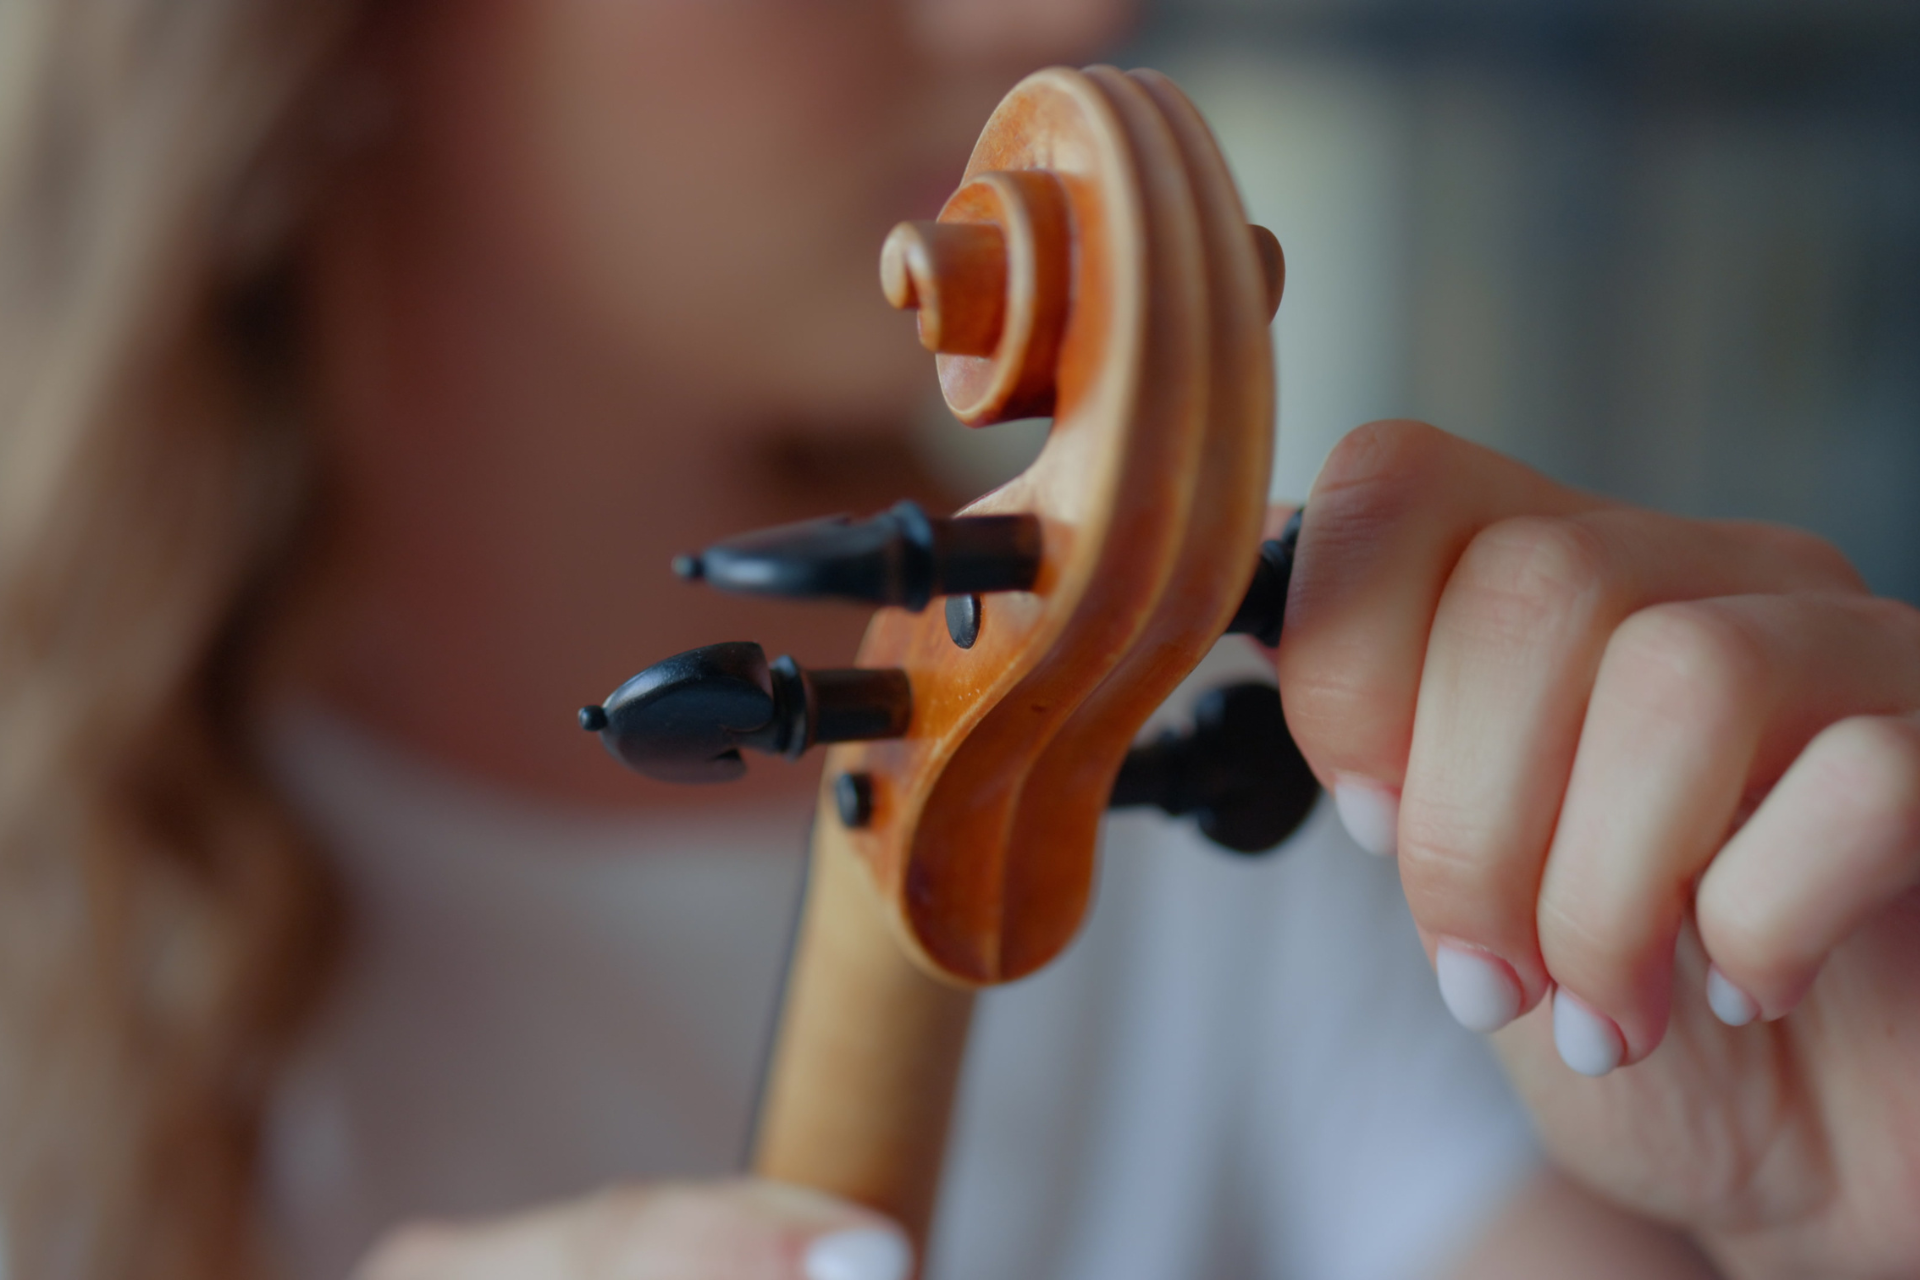
Using Fine Tuners and Pegs
Violins have two main tuning mechanisms. Pegs make large adjustments, while fine tuners allow for smaller and more precise changes.
When to Use Pegs
Use the pegs when the string is significantly out of tune. Pegs tighten or loosen the string quickly, so adjustments must be done gradually to prevent breakage.
When to Use Fine Tuners
Fine tuners are ideal for minor adjustments, especially on the A and E strings. Many beginners prefer using fine tuners because they are easier to control.
Step-by-Step Guide to Tuning a Violin
Step 1: Start With the A String
The A string is often tuned first because it serves as a reference pitch in orchestras and group settings. Use a tuner or tuning fork to play an A note.
Step 2: Tune the D String
Once A is correct, tune the D string by matching its note to the tuner. Alternatively, you can play the A and D strings together and listen for a smooth interval without wavering beats.
Step 3: Tune the G String
Tune the G string next, using the same method. Listen for stable resonance when playing it alongside the D string.
Step 4: Tune the E String
Finally, tune the E string. It is the thinnest string, so adjustments should be made carefully.
Common Beginner Mistakes
• Turning pegs too quickly
• Ignoring string tension
• Not checking strings against each other
• Forgetting to retune after playing for a while
Violins are sensitive instruments, and temperature changes can affect tuning, so it is normal to tune frequently.
Tuning a Guitar
Standard Guitar Tuning Notes
A standard six string guitar is tuned from lowest to highest pitch:
• E (low)
• A
• D
• G
• B
• E (high)
This tuning pattern makes chord shapes and scales accessible to beginners.
Types of Guitar Tuners
Guitars can be tuned with different tools:
• Clip on tuners
• Pedal tuners
• Smartphone apps
• Built in tuners on some guitars
Clip on tuners are highly reliable and easy to use.
Step-by-Step Guide to Tuning a Guitar
Step 1: Start With the Low E String
Play the low E string and adjust it until your tuner reads E. If the note is flat, tighten the tuning peg. If sharp, loosen it slightly.
Step 2: Tune the A String
Next, tune the A string using the same approach. Stay patient and make small adjustments.
Step 3: Tune the D and G Strings
These middle strings often fluctuate the most, so check them twice to ensure accuracy.
Step 4: Tune the B String
The B string is known for slipping out of tune more easily because of its thinner gauge. Adjust slowly.
Step 5: Tune the High E String
Finally, tune the high E string. Since it is the thinnest string, turn the peg very gently.
Tuning Your Guitar by Ear
More advanced players often tune by ear using the fifth fret method. For example, pressing the fifth fret on the low E string produces an A note, which matches the open A string.
Common Tuning Issues and How to Fix Them
• Old strings often refuse to stay in tune
• Poorly stretched strings cause slipping
• Temperature changes affect tuning stability
• Low-quality tuning machines can drift
If you consistently struggle with tuning stability, it may be time for new strings or a setup.
Tuning a Setar
Understanding the Setar’s Structure
The setar is a traditional Persian instrument with three or four strings depending on the version. Its sound is delicate, bright and expressive. It is tuned differently depending on the musical mode, known as Dastgah.
Standard and Common Setar Tunings
Setar players use several tuning variations. A common tuning for beginners is:
• C
• G
• C
• G
Another common tuning is:
• D
• G
• B
• E
These tunings create harmonically rich intervals that suit traditional Persian melodies.
Tuning Challenges Unique to the Setar
The setar uses wooden pegs similar to the violin, which require gentle pressure and precise movement. Because the instrument is very lightweight, even small adjustments can cause noticeable changes in pitch.
Step-by-Step Guide to Tuning a Setar
Step 1: Choose Your Tuning System
Decide which tuning matches the piece or style you want to play. Beginners should start with simple tunings until they gain more experience.
Step 2: Tune the First String
Start with the first string, typically tuned to C or D depending on the system. Match the pitch using a digital tuner or reference note.
Step 3: Tune the Second String
Tune the second string to G or a similar interval. Check the resonance between the first and second strings to ensure they blend well.
Step 4: Tune the Third and Fourth Strings
The remaining strings form the harmonic foundation. Tune each one slowly and check them together frequently.
Step 5: Play Simple Melodies to Confirm Tuning
After tuning all strings, play basic scales or melodic lines. If something sounds off, fine-tune the strings again.
Keeping the Setar in Tune
Because wood is sensitive to humidity and temperature, the setar may need frequent tuning. Store it in a stable environment and avoid exposing it to sudden changes.
Tips for All String Instrument Beginners
Always Tune Before You Play
Practicing on an out-of-tune instrument slows progress and trains your ear incorrectly.
Replace Old Strings
Old strings lose elasticity and no longer hold pitch well. Fresh strings tune more easily and sound cleaner.
Tune Slowly and Carefully
Rushing can cause over-tightening, which risks string breakage. Small adjustments always produce better results.
Use Your Ears as Well as Your Tuner
While tuners are helpful, try listening closely to pitch differences. This strengthens your ear and improves musicality.
Be Patient and Consistent
Tuning is a skill that develops with time. The more you tune, the easier it becomes.
Final Thoughts
Tuning is one of the most important and rewarding skills for anyone learning violin, guitar or setar. While each instrument has its own tuning method and challenges, the fundamentals remain the same. With patience, the right tools and consistent practice, tuning becomes second nature and greatly enhances musical enjoyment. A well-tuned instrument helps you play confidently, hear accurately and develop stronger musical instincts.
Need tuning accessories, new strings or expert help? Visit Rhythm Music Shop serving Markham for quality instruments and everything you need to stay in tune.