General Articles
The Beginner’s Guide to Starting a Home Music Studio
The Beginner’s Guide to Starting a Home Music Studio
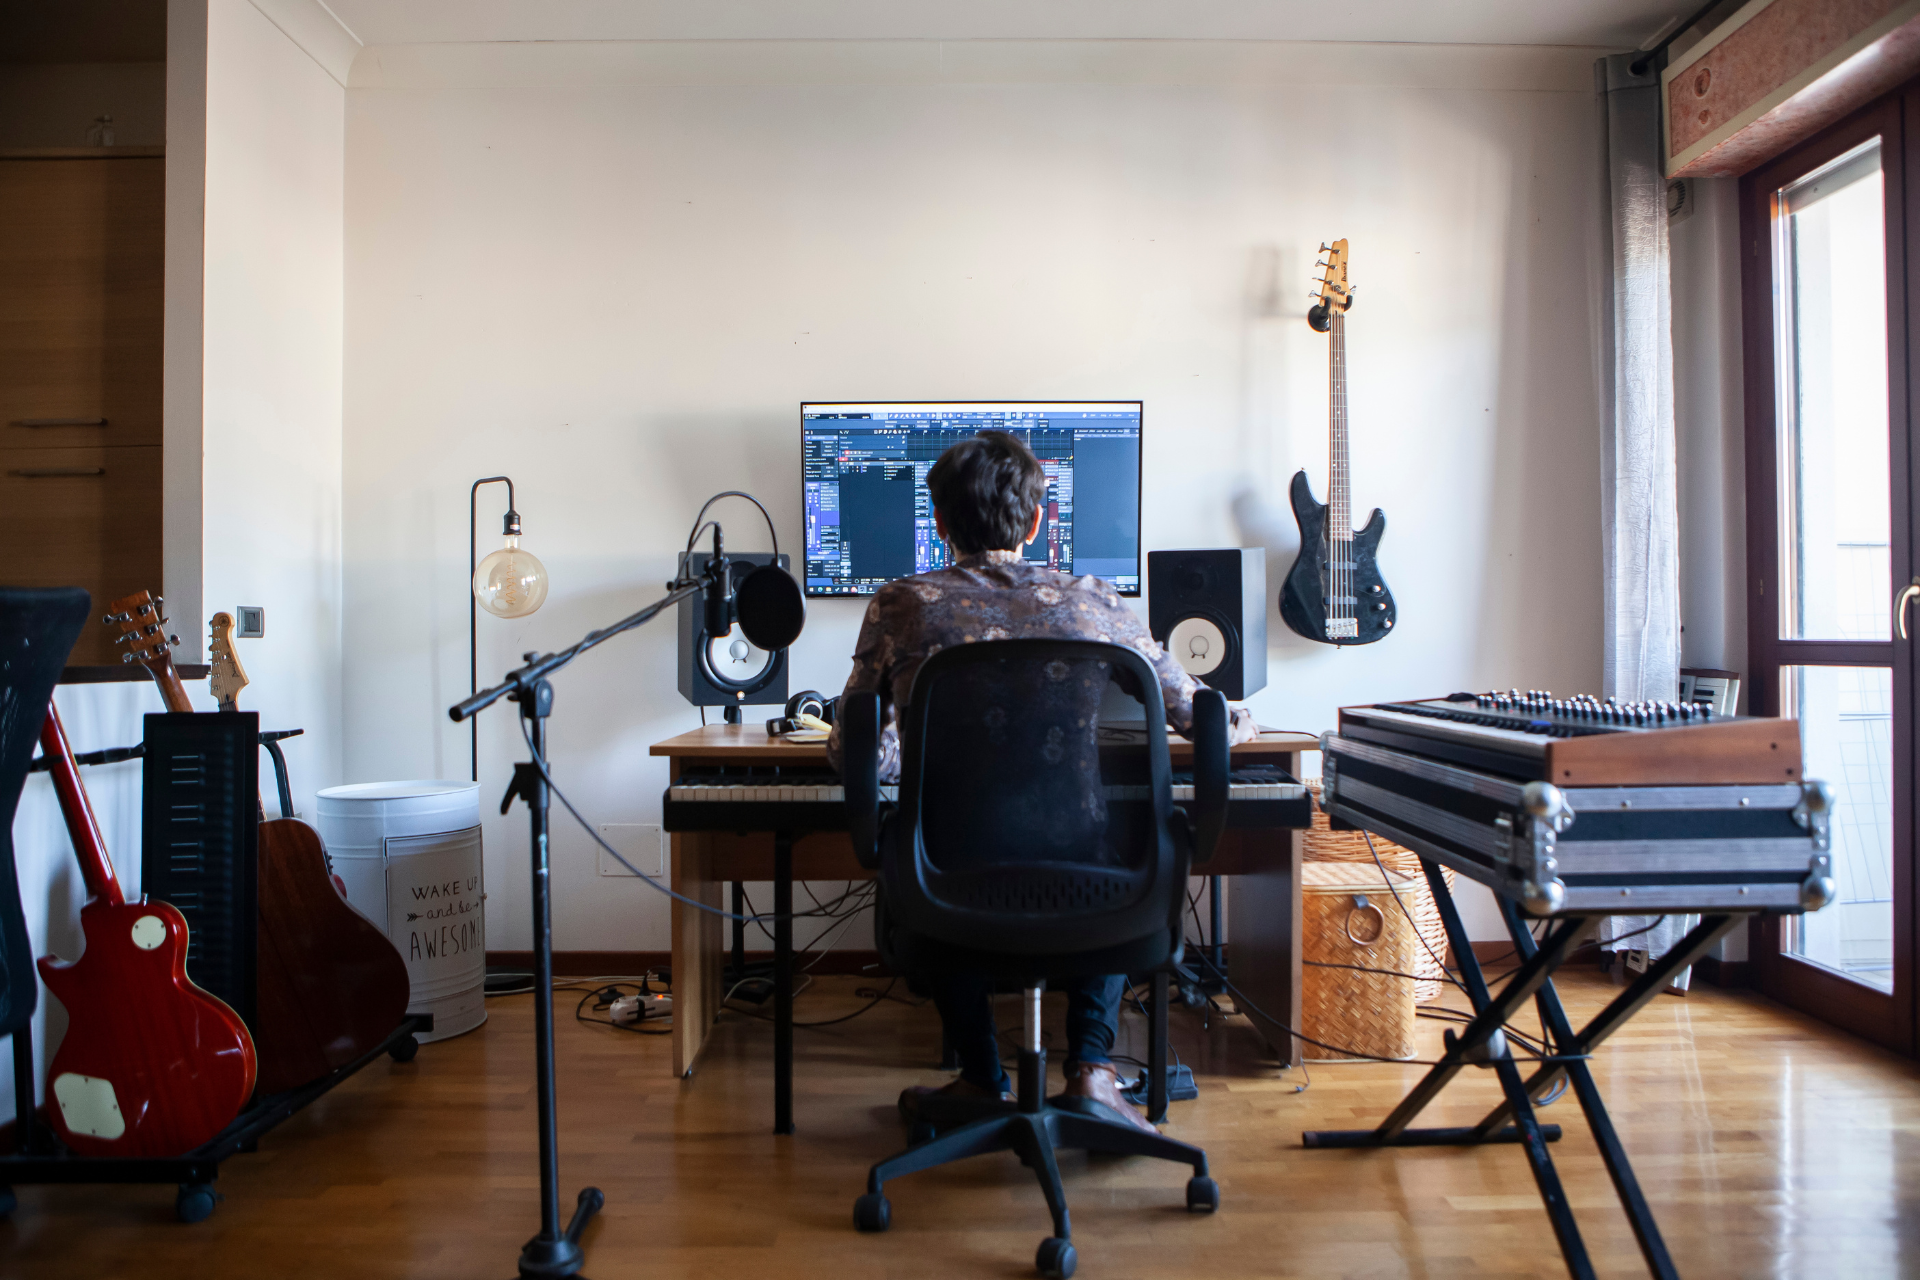
Setting up a home music studio is a dream for many musicians, producers, and audio enthusiasts. With technology becoming more accessible, creating high-quality recordings at home is now easier than ever. Whether you're interested in producing beats, recording vocals, or composing full tracks, having your own studio offers creative freedom and convenience. This beginner’s guide will walk you through everything you need to know to start your home music studio without overwhelming your budget.
Choosing the Right Space
The first step in building a home music studio is selecting the right location. Ideally, you want a quiet room with minimal external noise and few hard surfaces that reflect sound. A spare bedroom, basement, or even a large closet can serve as a suitable space. If possible, avoid rooms with large windows, as glass can interfere with sound clarity and may require additional soundproofing.
Acoustics are a key consideration. While your space doesn’t have to be professionally treated at the start, aim for a balance between absorption and diffusion to reduce echo and unwanted reflections. Thick curtains, rugs, bookshelves, and foam panels can all help improve the room’s acoustics.
Essential Equipment for Your Home Studio
When starting out, you don’t need to purchase every piece of equipment found in a professional studio. Focus on essential gear that allows you to produce quality recordings.
Computer
Your computer will be the central hub of your home studio. Most modern PCs or Macs will suffice, but make sure your system has enough processing power and memory to handle audio software efficiently. A machine with at least 8GB of RAM and a multi-core processor is recommended for running digital audio workstations (DAWs) and plugins.
Digital Audio Workstation (DAW)
A DAW is the software used to record, edit, and mix audio. Popular choices include Ableton Live, FL Studio, Logic Pro X, Pro Tools, and Cubase. Many offer free or trial versions, so you can test a few to see which best suits your workflow. Your DAW choice will likely become one of your most important decisions, as you’ll spend a lot of time working in it.
Audio Interface
An audio interface connects your instruments and microphones to your computer. It also outputs sound to your headphones or monitors. Look for a beginner-friendly interface with at least two inputs and quality preamps. Brands like Focusrite, PreSonus, and Behringer offer affordable and reliable options for home studios.
Studio Monitors and Headphones
While consumer speakers and headphones might seem convenient, they often exaggerate frequencies, leading to inaccurate mixes. Invest in a pair of studio monitors known for their flat frequency response. If budget or noise concerns are an issue, studio headphones are a great alternative—especially closed-back models for tracking and open-back ones for mixing.
Microphones
A versatile condenser microphone is a solid choice for beginners. It works well for vocals, acoustic instruments, and even some ambient recording. If you plan to record podcasts or voiceovers, a dynamic microphone may also be useful. Don’t forget to pick up a pop filter and a sturdy microphone stand to complete your setup.
MIDI Controller
A MIDI controller isn’t essential, but it greatly enhances your ability to compose and produce music, especially for those who work with virtual instruments. Even a compact 25-key controller with velocity-sensitive pads can make a huge difference in your workflow.
Cables and Accessories
You’ll need a few XLR cables for your microphones and 1/4-inch cables for instruments or monitors. Having extra cables on hand is always wise. Don’t overlook smaller accessories like a power conditioner, cable organizers, and an external hard drive for backups.
Acoustic Treatment Basics
Many beginners confuse soundproofing with acoustic treatment. Soundproofing keeps sound from entering or leaving your room, which can be costly and complex. Acoustic treatment, however, focuses on controlling how sound behaves inside your space.
Start with bass traps in corners, as low frequencies tend to accumulate there. Then add acoustic panels at reflection points—areas where sound bounces off walls before reaching your ears. DIY options using rockwool or mineral wool are effective and budget-friendly. A well-treated room helps you hear your mixes accurately and improves overall recording quality.
Setting Up Your Workspace
Now that you’ve gathered your equipment, it’s time to set up your studio. Arrange your desk and monitors in a symmetrical layout, with your speakers forming an equilateral triangle with your listening position. Place your desk away from walls if possible, to reduce early reflections.
Your computer, interface, MIDI controller, and DAW should be within easy reach. Keep cables tidy to avoid clutter and potential accidents. A clean, organized workspace enhances creativity and productivity.
Learning to Use Your Gear
Starting a home studio can be overwhelming, especially if you’re new to recording technology. Take the time to learn the ins and outs of your DAW. There are countless tutorials available on YouTube and music production websites, many of which are free.
Practice basic recording techniques, like mic placement and gain staging. Learn how to create a clean mix by balancing levels, applying EQ, and using effects like reverb and compression tastefully. Don’t rush the learning process—audio production is both a science and an art.
Building a Sound Library
Having a solid collection of sounds is crucial for music production. Start with the stock plugins and sample libraries included with your DAW. As you gain experience, you can expand your collection with virtual instruments, sound packs, and third-party plugins.
Some great sources for royalty-free samples and loops include Splice, Loopmasters, and Cymatics. Many music shop websites also sell hardware bundled with software, plugins, or sample packs, so they’re worth checking for good deals.
Connecting with the Music Community
One of the best ways to grow as a music producer is to connect with others. Join online forums, social media groups, or attend local music meetups. Sharing your work and receiving feedback can speed up your development and keep you motivated.
Visiting a local music shop can also be a valuable experience. Staff often provide insights, recommendations, and sometimes even workshops or in-store events. They’re great places to try out gear in person before making a purchase.
Upgrading Over Time
You don’t have to start with top-of-the-line gear. Many successful producers began with minimal setups and gradually expanded their studios as their skills and budgets grew. Once you’ve mastered your current equipment, consider investing in more advanced monitors, a second microphone, acoustic panels, or even analog synths.
Common Mistakes to Avoid
As a beginner, it’s easy to fall into a few traps. Avoid buying gear just because it’s trendy—do your research and understand how it fits your needs. Don’t over-process your mixes with too many effects or plugins. Simplicity often leads to better results.
It’s also important not to get discouraged. Producing music is a skill that takes time to develop. Expect to make mistakes and learn from them. Celebrate small victories and stay focused on progress, not perfection.
Final Thoughts
Starting a home music studio is an exciting journey that opens the door to endless creative possibilities. With a thoughtful approach, the right equipment, and a willingness to learn, you can build a space that supports your musical goals. Whether you’re creating for fun or pursuing a career, your home studio can become the heart of your musical world, and a music shop nearby can be your trusted ally for gear and guidance as you grow.